( Originally posted on 24 March 2012, Updated 9 December 2013)

I must say, if I had to make candles for a living, I don't think I'd mind!

I must say, if I had to make candles for a living, I don't think I'd mind!
It's just so much fun :)
Inspired by Tasha Tudor's candle making, I decided I had to do it!
Although I'm a ways from being able to do it her way outside over a fire...
It did take some planning.
And it all started with the beeswax....


And the wick, a square braid 2/0 size, for candles up to 7/8".
 |
| Breaking up some of the larger pieces.. |

It also required a large pot. I found a second hand stock pot,
This one about 12" diameter and 10 1/2" high.
In this size pot, you can make candles up to about 9" long.
It sits in a canning pot of water.
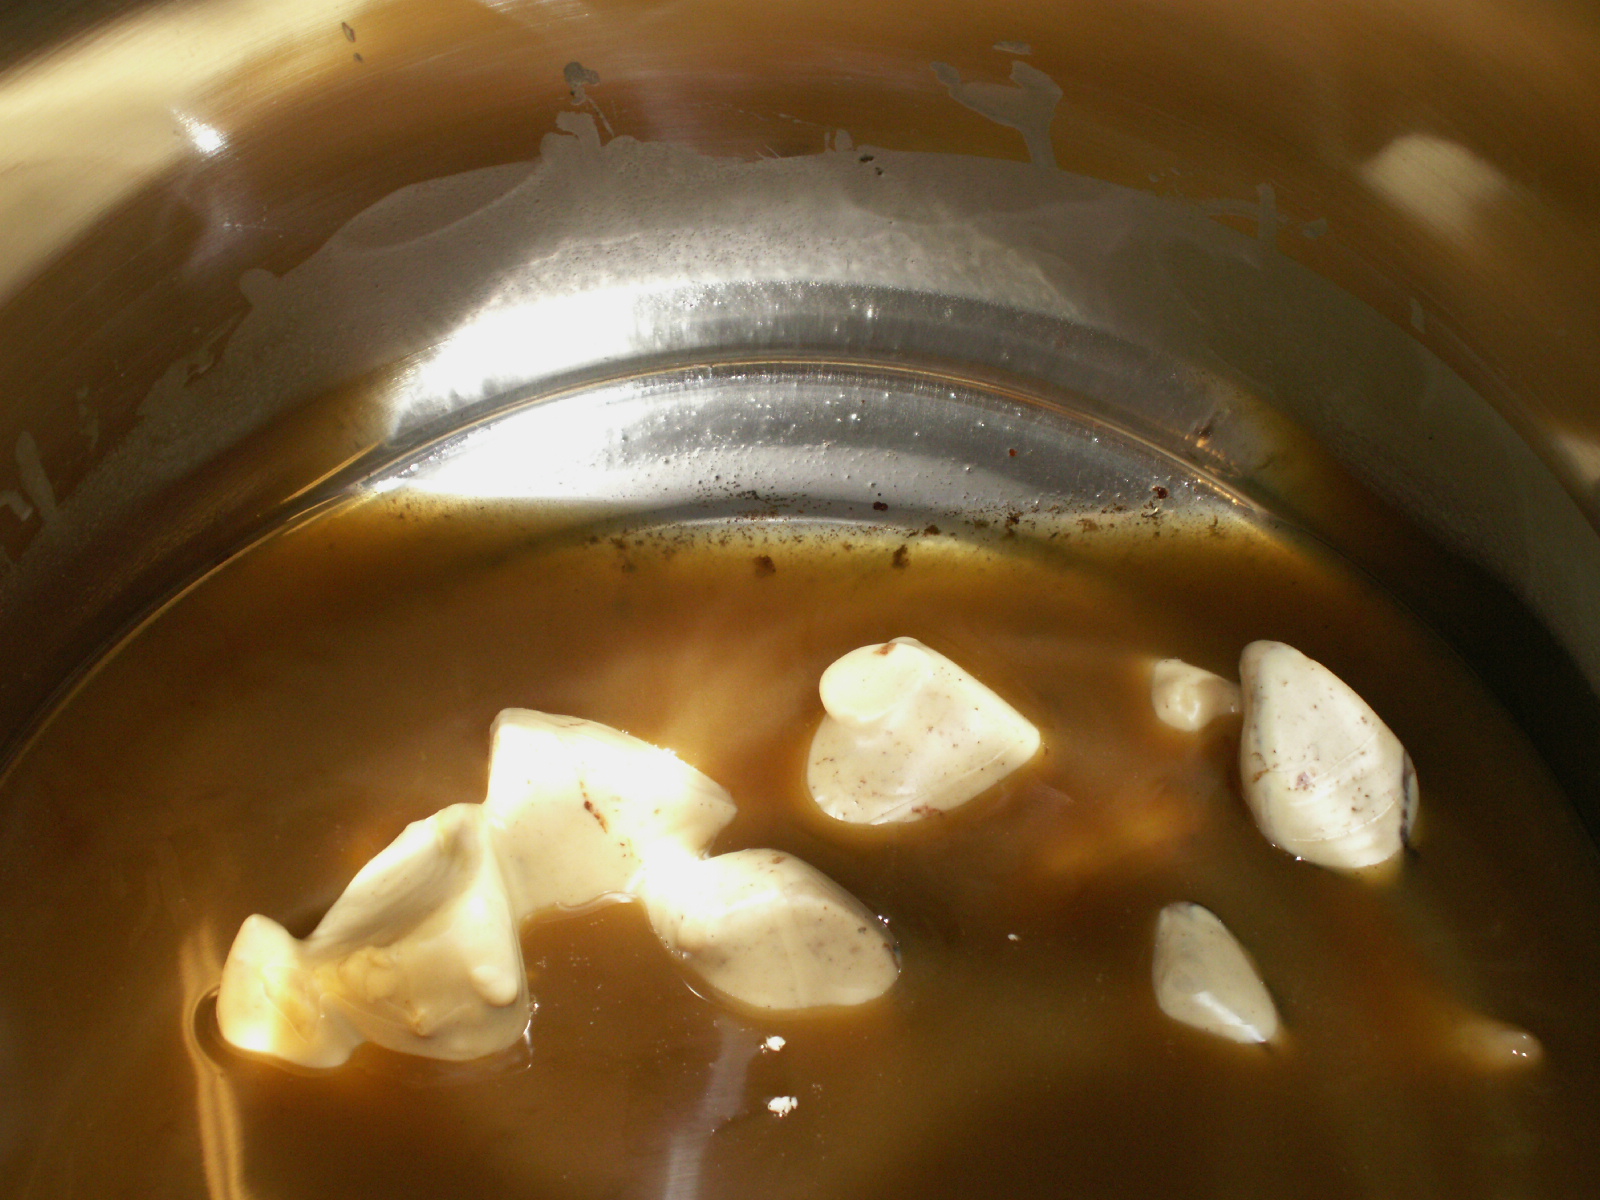 |
| As it melts, any debris will fall to the bottom. |
The above photo was the first time we made candles...it took hours
to fill the pot and melt the wax. 30 pounds of wax later
and the pot was filled! The wax cooled and hardened
after we finished. It took almost 5 hours to melt all of the wax
again in the big pot, then the temp was turned down before dipping.
to fill the pot and melt the wax. 30 pounds of wax later
and the pot was filled! The wax cooled and hardened
after we finished. It took almost 5 hours to melt all of the wax
again in the big pot, then the temp was turned down before dipping.
 | ||
The wax in the double boiler is used to top up the dipping pot.

As with any hand craft, you learn things along the way,
especially how to be more efficient and make a better product.
This is what happened with my candle making.
I have decided that it is easier for me to tie a weight to the
ends of the wick, hang it over a stick and dip that way.
I do however, lose length of candle, but it's worth
it to get a straighter candle. (I'm looking for a deeper pot!)

The sticks I use have grooves cut in them to lock down the wick to help keep
it in place.

For the depth of the pot I have, I cut the wick to 25" lengths and
tie on the weight.

A very important part of the candle making is making sure the wicks
are fully saturated by leaving them in the wax until the bubbles stop.
This is the ONLY time you will actually leave the wicks in the wax.

You want to wait 2-3 minutes between dipping to let the wax cool.

After about 7 dips (yours may vary), the wick should remain straight
and the weights can be removed. A sturdy pair of scissors will do the trick.


After they are cut, you will need to smooth the bottoms.
Otherwise, you will get a lumpy candle.

Once the weights have all been removed and the bottoms smoothed down,
you are ready to start dipping again.
Don't forget to continually top up the pot. I use a plastic cup and dip it
into my double boiler and add some after each dipping round.

Below is my original method of pulling the candles straight.

As with any hand craft, you learn things along the way,
especially how to be more efficient and make a better product.
This is what happened with my candle making.
I have decided that it is easier for me to tie a weight to the
ends of the wick, hang it over a stick and dip that way.
I do however, lose length of candle, but it's worth
it to get a straighter candle. (I'm looking for a deeper pot!)

The sticks I use have grooves cut in them to lock down the wick to help keep
it in place.

For the depth of the pot I have, I cut the wick to 25" lengths and
tie on the weight.

A very important part of the candle making is making sure the wicks
are fully saturated by leaving them in the wax until the bubbles stop.
This is the ONLY time you will actually leave the wicks in the wax.


After about 7 dips (yours may vary), the wick should remain straight
and the weights can be removed. A sturdy pair of scissors will do the trick.


After they are cut, you will need to smooth the bottoms.
Otherwise, you will get a lumpy candle.

Once the weights have all been removed and the bottoms smoothed down,
you are ready to start dipping again.
Don't forget to continually top up the pot. I use a plastic cup and dip it
into my double boiler and add some after each dipping round.

Below is my original method of pulling the candles straight.
 |
| The first dipping of the wicks, notice they are wavy... |
 |
| After they cool, pull down to straighten. |
 |
| They grow pretty fast! |
When dipping, do it quickly. If you hold them too long in the wax it will melt off.
I find a steady but not too fast dipping motion(too fast down and you can create air pockets, ask me how I know...lol) and then as soon as the stick touches the top of the pot, bring it straight back up. Count to three and move to rack to cool.


It helps to have a nice stand to rest the sticks on between dippings...
this one was whipped up by my most wonderful boyfriend ! :)

Just dip as many times as required to be whatever diameter you want.
Remember to let them cool for a few minutes between dipping.
Most of mine were dipped between 17 and 20 times.
According to Tasha, they should 'cure' for about a month.
I find that as soon as they are cooled completely through, they are
ready to burn. I haven't noticed any difference between
waiting a month or lighting the next day.

Display in your favorite candle holder!!
If only I could convey their wonderful smell!!

We had a fantastic time...
Making candles is something I'll be doing for many years to come :)
** Thank you Tasha **
Wow, that looks like so much fun. Your candles turned out beautifully. I love the smell of beeswax. I remember dipping candles at summer camp long ago but I haven't given it a go since then. It would be a nice summer project to do with my nieces - thanks for the inspiration!
ReplyDeleteIt was a blast...I absolutely Love making candles this way. Thank you for your positive comments...It's always my hope to inspire others !! :)
DeleteHey Kim, Just had a look at these and they're most impressive! A lot more elegant than the ones we make in my Nursery classroom! And, yes, the smell is divine. Gotta love them honeybees!!
ReplyDeleteI am hoping to make some beeswax candles for our advent wreath this year. Thank you for posting these steps and photographs, this is a really helpful post. Thanks.
ReplyDeleteYou didn't mention it, but I have heard of people filtering the wax, did you need to do this?
Hi Sharolyn, I'm glad the information was helpful to you :) I have used both filtered and non filtered wax, being that was the way in which it was purchased. I have never filtered any myself. What happens to any impurities is that they fall to the bottom of the pot. If after the wax pot cools, it will come out of the pot(as it cools, it shrinks quite a bit) you can dump the wax out and you will see the black stuff at the bottom. So make sure that even if you use filtered wax, that after it is completely melted, that you don't stir it up as you will then mix the dirt stuff(however little there may be) at the bottom with the clean wax that you are dipping in. -Kim :)
Deleteany tips on getting a stand to hang them on while you are making them?
ReplyDeleteHi Bern, My boyfriend made the first stand I used, then I made another one. It's pretty easy to do with some scrap wood and a few screws. I started out using milk crates. Boxes will also work or even two chairs that you can hang your stick across. As long as they are a bit taller than your candles are long, any kind of container should work.-Kim :)
Delete