21 October 2015

Clean Clothes Without Electricity


    Most of us take electricity for granted. Mainly because it's almost always available... until something happens and it's not...could be a storm, something goes haywire with a transformer(which has happened to us twice in the last year) or for so many other reasons. The electric grid we rely on is really quite a delicate system.

    My actual reason for finding an alternative way to wash clothes was because the washing machine had an issue and it was a week until it was fixed. No machine or no electricity, either way, the problem is the same..and it got me thinking again. Every time something happens to upset daily life as I know it, I have to figure out other ways to get things done. So whether it's the electricity being off or a machine breaking, having a back-up plan to do things manually is always wise!!

    I went to the computer and started to look at manual washers on Amazon. I came across the Breathing Mobile Washer, read the reviews, and for the price, thought it might be a good non-electric way to wash clothes whenever the need arose...or I thought my arms needed a good workout! Ha! There were several comments about how it was more gentle than using a washboard, which when you think about it, makes perfect sense!  I swapped the wooden handle it came with for a non-wood handle, like the ones they make for paint rollers. The extending handle makes it easier to use as you don't have to bend over and because it isn't wood, there is no chance of it getting moldy or rotting. There are also metal ones, although they will rust if not properly dried after each use. I did buy one of those too, but mainly use it as an extra toilet paper holder in the guest bath...I just like the look of it :)


   I could go to the laundromat...or not...and there are those mobile washers that you put clothes in and turn to wash, but this method appeals to me the most. I had some dirty rugs in the office that I decided to try it out on. Using my large galvanized tub, I filled it about half way and added some laundry soap, added the rugs and began plunging up and down. Not hard to do. How long you do it depends on how dirty the items are that you are washing. 
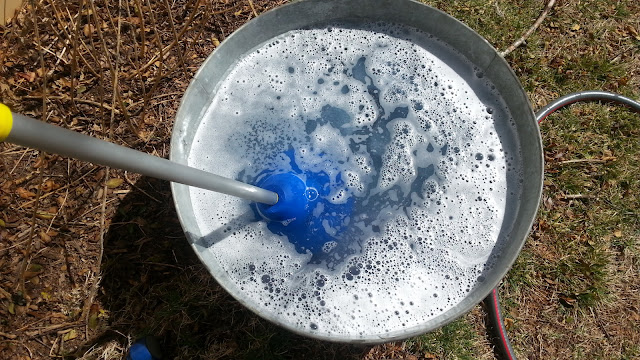
Washing rugs with the Breathing Mobile Washer


    When I had done it long enough (I checked a couple of dirt spots to see when they looked clean), I pulled the rugs out, wringing out as much soapy water as I could, set them aside, dumped out the dirty water and refilled for the rinse.

    I always make sure I have plenty of filled gallon jugs (or other water storage for emergencies)  so I don't have to worry about finding and hauling water. We have a gas cook stove and a wood stove, so if I want warm water, that isn't  a problem. 
No one said doing things manually was easy or quick, but it's nice to know that I can still take care of laundry without having to depend on a machine to do it for me. It's just about being prepared for anything and always having back-up plans! 

Rinsing.
And don't forget a good drying rack! (Or clothes line outside)
          I actually use mine all year long. Avoiding the dryer whenever possible will help
          your clothes last longer and also lower your electric bill !!


                                                                              -K :)


03 October 2015

Rainy Day Knitting

     I usually enjoy a good cool rainy day, but today is different...I (and many, many, other folks) should be at the Fall Fiber Festival at Montpelier. Because of the amount of rain we've already had this week as well as the current conditions, the festival had to be cancelled...  :(   It was a wise decision, although very sad.  I don't usually hold a grudge against Mother Nature, but....I kinda' am at the moment! Griping won't change anything though, so I am spending the weekend knitting, combing and working on a Youtube video! All fiber related activities :)

    I am currently working on a small crescent shaped shawl using Paco-Vicuña yarn I spun from 'Forest', from Victory Farm.   It is a fairly simple pattern to knit, although you start with the bottom...and at 402 stitches to start with, it takes a while to get going. I am finally moving along now!


                        The pattern is Diamonds and Purls and is a free ravelry download.
                                       Notice my very inexpensive chart holder ;)


        I am using circular needles to knit it, but it isn't knit in the round, although from this picture, it does look like it. I am in the middle of a row and the end and beginning are next to each other so you can't see the space in between.

The pattern is starting to take shape.
 I spun a two ply yarn from hand combed top. 

 Combed fiber with some of the washed fleece just above.


  I do love this dark color. A rarer color for paco-vicuñas.

The raw fleece. 

I hope all are staying inside, dry and warm, enjoying some fibery goodness!!

-K :)

30 January 2015

Dye Day 2014


     Last August, we had a fiber dyeing day at the farm. All natural dyes...Indigo, goldenrod, onion skins, pokeberry, madder root, annato, osage orange, (maybe others I may have forgotten). There is a little more to dyeing with natural materials than there is with dye powders out of a jar, but the process is enjoyable. In most cases, the plant material(think goldenrod) needs to be heated for a length of time to get the dye material from the plant into the water. Then the plant material is filtered out and the pre-mordanted yarn or fiber can then be immersed into the dye water. I know I am not going into great detail here for this post. Perhaps I will for the dye day we will have in 2015. I mainly just wanted to post some picture highlights from the dye day :)

Indigo skeins being rinsed and hung to help get the majority of the water out.


Look at those colors! Almost a rainbow...

The hang out tent for those either done with their dyeing or those who just wanted to enjoy the day with friends but not participate in the dyeing activities...

Dyed by D.G., her description as follows... Alpaca fleece, red dyed in Madder,  the peachy sort of color was in so many things, trying to get it to take ANY color, that I couldn't begin to reproduce  it. The yellow was in the Osage Orange for at least an hour.                                    
                                            
Alpaca hand combed top that was dyed with Indigo, by D.G..

A mixed basket of natural dyed alpaca in hand combed top form, by D.G.

Polworth/Silk blend - dyed in cochineal by D.G.

One participant's(G.M) dye day efforts all spread out in her kitchen to dry! See more below...


05 May 2014

A Woman and Her Sheep

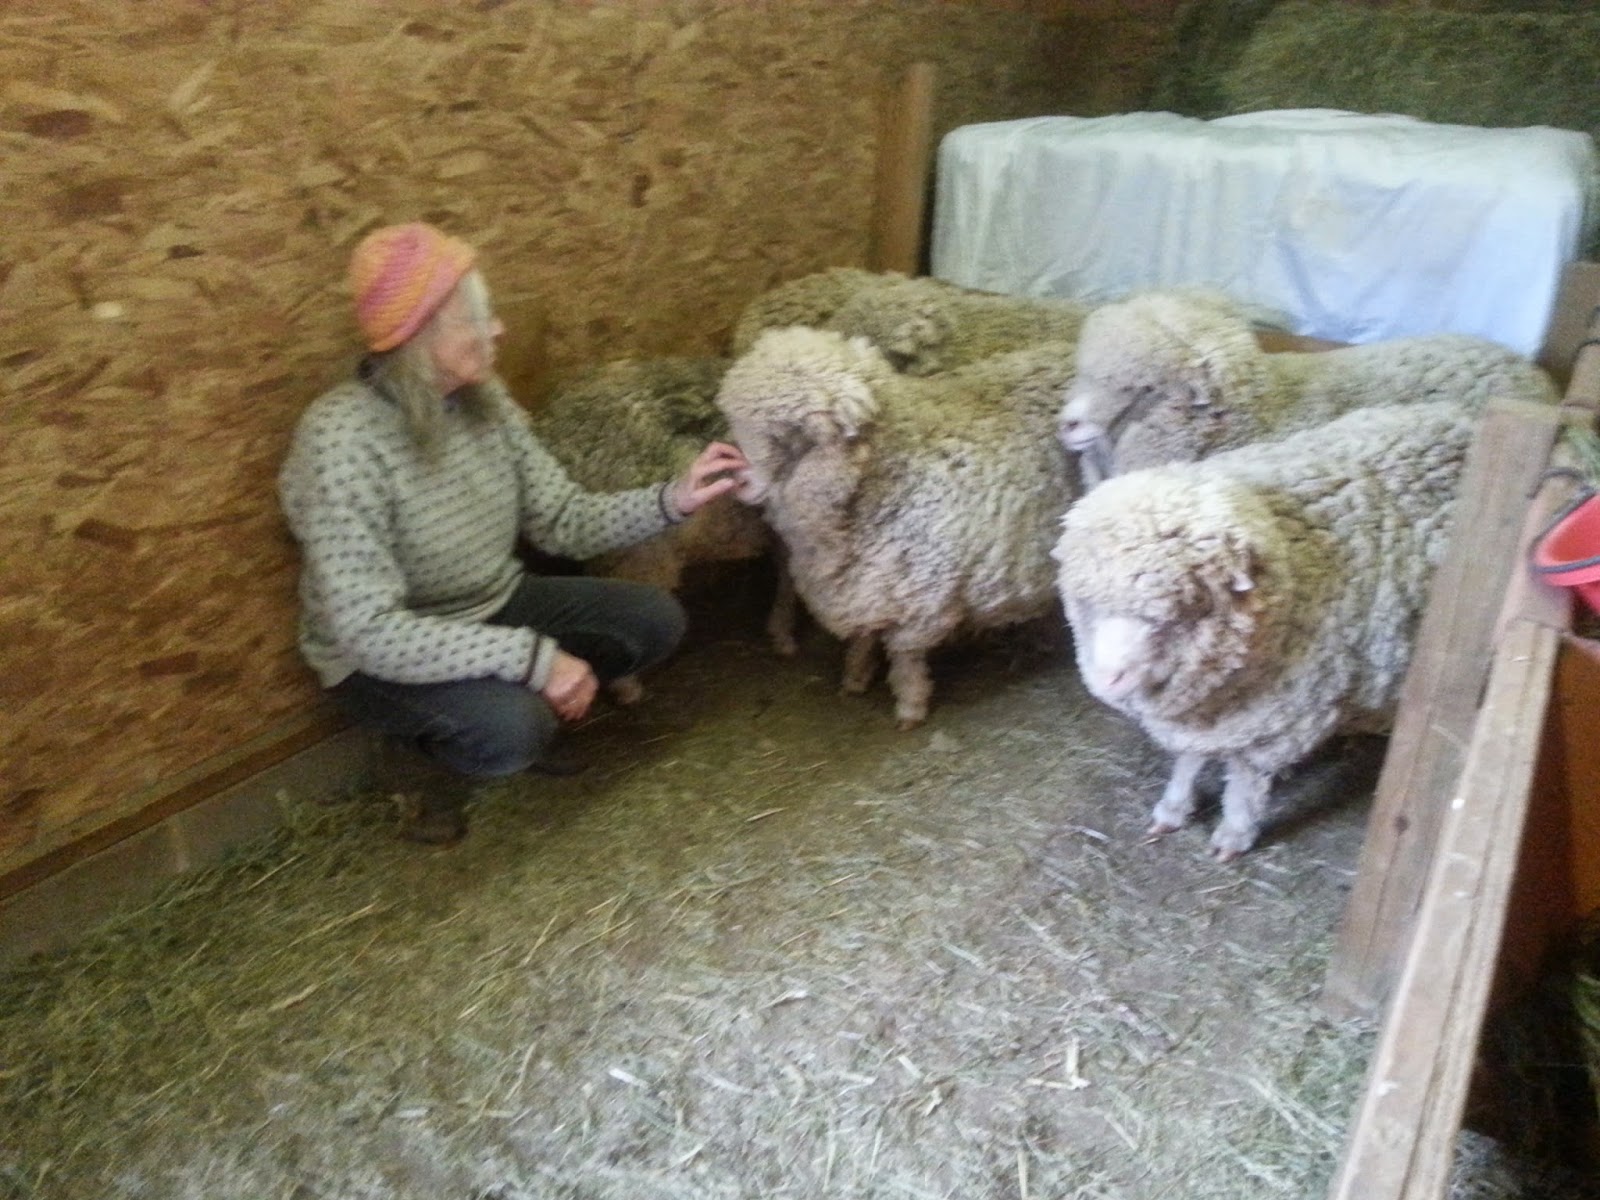
She talks t0 them prior to being sheared, sharing some comforting words and a gentle touch.

I visited my friend Barbara on shearing day for her Cormo sheep, not only to watch, but to help where I could. I mostly helped with the skirting of the fleece and then
rolling them up to wrap in sheets to await being sent to the mill.

I was touched to watch her with her sheep, I could see the love and affection she
feels for these animals. She has had them for many years and most were born on her farm. 
She knows them all by name and they know her.


"Oh no, I think I'm next"

Kevin Ford is the shearer.


It was a cool day and I'm sure they felt it after having their fleece removed. There is just enough coat left on so that they still remain warm though.

Consolation...yummy hay!


More reassuring words from their 'momma'.

Beautiful Cormo fleece.

I took this one home...destined to become many beautiful and warm knitted and woven items!!

29 April 2014

Pysanky Eggs

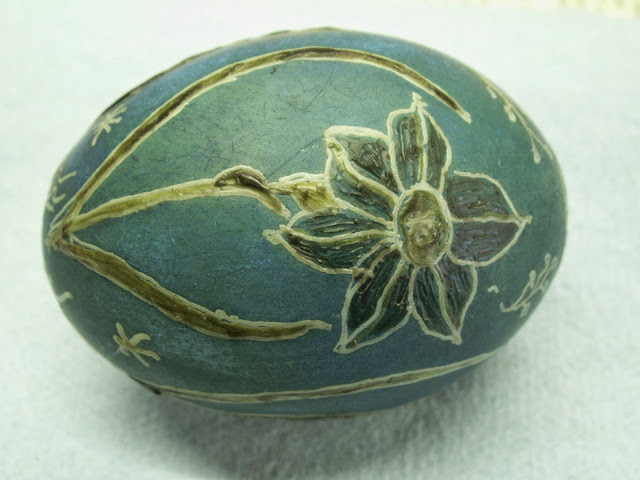
Beautiful Pysanky eggs!!!

Way last year in March, I hosted a Pysanky workshop.(See how far behind I am?)
I happen to have a friend who is very talented at making them. All of the eggs in
the above picture were made by her. I asked her if she would show us all how to
do it and lucky for us, she agreed. The following is how we made them...

You want to cover your working surface in newspaper
or an old tablecloth so as to protect it from wax and dye.

The basic list of supplies:

  • sturdy eggs (we used mainly duck eggs)
  • beeswax
  • Kistka (the tool for applying the wax)
  • a candle
  • pencil
  • Dyes
  • Large spoon for dipping the egg in the dye
  • Gloves (optional, but I would recommend them)
  • Microwave
  • Paper towels
  • Craft lathe (optional, but if you have one, you can make grids which make it easier to apply your pattern)

The candle for flame to heat up the kistka and a block of wax to fill the kistka.
I melted wax and poured into small plastic cups to get the small hockey puck
sized block. You may come up with a better way, this just worked for me.
Tip: You may want to dye the wax a dark color, this will help you see
as you draw your design on the egg.

Kistkas

These are un-blown eggs, easier to use as they sink down into the dye better.
If you use blown out eggs, you will have to find a way
to hold down the eggs in the dye cups as they will want to float.
Duck eggs. Sourced from a local farm.
Make sure the eggs are fresh, don't have any bumps on them and that
there are no cracks.  It is also important that the eggs are clean.
Use diluted vinegar and wipe the egg completely, then let dry thoroughly.

The dyes are regular acid dyes, like what you would use for fiber.

Applying lines can help you with your design.
Just use a light touch with the pencil. Very light lines shouldn't show up
in the finished design.


Using the kistka, you first carefully heat it over the flame...

...and then scoop out some wax.
Test the kistka on the newspaper to make sure the wax is flowing properly.
Heat a little more if necessary.

The heat from the kistka will melt the wax and it will flow out the hole.
Think of it as a pen that you will draw your design with.
You will have to periodically hold the kistka over the flame to keep the wax
melted and scoop more as it is used up.

These photos are showing the design starting over the white of the egg.

Your imagination is the only limit as to what you can create on the egg!

If you want no white on the egg,  then you have to dye the egg first.
This is the most interesting part of the pysanky process, I think...
The progression of adding color as you add your design.


Since I was doing a floral design, I first dyed the egg yellow-green,
as this would be thecolor of the leaves.

So it goes something like this...starting with the lightest color and progressing
to dark with each dye dip, you dye a color and then add the wax, dye again
and draw another aspect of your design. What is happening is that you are covering
up the color that you have just dyed, with the wax, which will prevent it from
absorbing any future colors, so it stays the color that was covered. When all is
completed, the wax will be removed, showing the entire design.

You can see the design taking shape.

The color will get progressively darker as layers of dye are added.
Some dedicated time to planning on your color scheme is very important.

When you are done applying the dye and wax, a hole is made in the end.
Here she is using a small dremel drill. Just remember, no matter the method
you use to make the hole, be very careful not to crack the egg. You may want
to put a small piece of masking tape over the end, to help keep it from cracking.

The inside of the egg needs to be removed prior to heating the egg to melt
the wax. There is a special tool that is being used here to blow air into the
egg, forcing the insides out. This is probably the messiest part of the process.

Once the inside of the egg has been removed, lay your egg on a paper towel
and heat the egg for just a short time, start with 15 seconds and add time
if necessary. You are just heating the wax up enough to be able to wipe it off
with the paper towel. Be careful not to overheat the egg.
(Alternatively, if you do not have or want to use a microwave, you can hold
the egg next to the flame of the candle(to the side of the flame and not over
top of the flame), but take great care if doing it this way.
Just do little bits at a time, heat a little, wipe a little and so on).

Once heated, the wax should just wipe right off.

Not bad for my first attempt at this!

Very interesting designs...

Once the wax has been removed, you may want to apply a clear coating.
Whatever you use, do a test area first to make sure it doesn't cause the dye to run.

Once finished, they can be displayed in a bowl, or, if you like, you can buy
caps(called findings) for the end so that they can be hung as ornaments.

Take your time, let your imagination run wild, and you will create one of a kind
works of art that you can keep or give as unique gifts!

As always, thanks to all who joined me in this crafty adventure, especially
Laura, who generously shared her time and knowledge with us!!

-Kimberly :)