 |
| Beautiful Pysanky eggs!!! |
Way last year in March, I hosted a Pysanky workshop.(See how far behind I am?)
I happen to have a friend who is very talented at making them. All of the eggs in
the above picture were made by her. I asked her if she would show us all how to
do it and lucky for us, she agreed. The following is how we made them...
I happen to have a friend who is very talented at making them. All of the eggs in
the above picture were made by her. I asked her if she would show us all how to
do it and lucky for us, she agreed. The following is how we made them...

or an old tablecloth so as to protect it from wax and dye.
The basic list of supplies:
- sturdy eggs (we used mainly duck eggs)
- beeswax
- Kistka (the tool for applying the wax)
- a candle
- pencil
- Dyes
- Large spoon for dipping the egg in the dye
- Gloves (optional, but I would recommend them)
- Microwave
- Paper towels
- Craft lathe (optional, but if you have one, you can make grids which make it easier to apply your pattern)
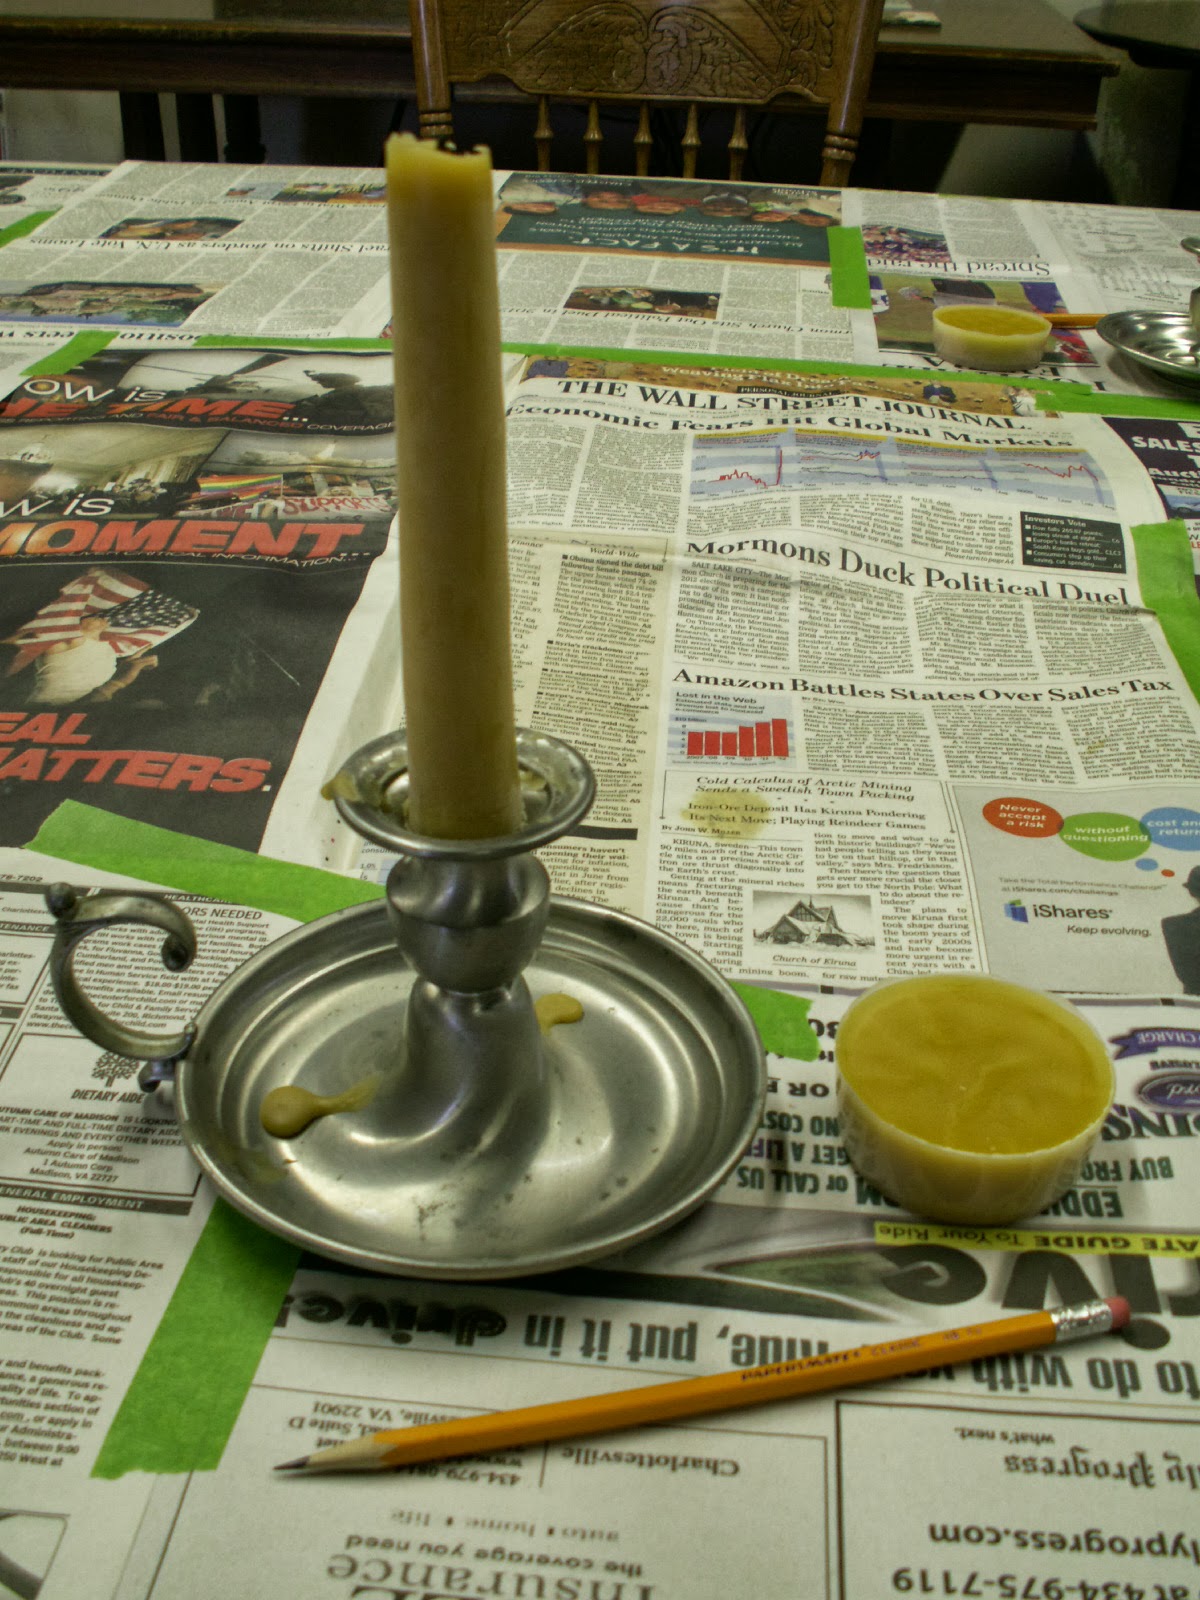
I melted wax and poured into small plastic cups to get the small hockey puck
sized block. You may come up with a better way, this just worked for me.
Tip: You may want to dye the wax a dark color, this will help you see
as you draw your design on the egg.
 | |
| Kistkas |

If you use blown out eggs, you will have to find a way
to hold down the eggs in the dye cups as they will want to float.
 |
| Duck eggs. Sourced from a local farm. |
there are no cracks. It is also important that the eggs are clean.
Use diluted vinegar and wipe the egg completely, then let dry thoroughly.


Just use a light touch with the pencil. Very light lines shouldn't show up
in the finished design.


Test the kistka on the newspaper to make sure the wax is flowing properly.
Heat a little more if necessary.

Think of it as a pen that you will draw your design with.
You will have to periodically hold the kistka over the flame to keep the wax
melted and scoop more as it is used up.


This is the most interesting part of the pysanky process, I think...
The progression of adding color as you add your design.


as this would be thecolor of the leaves.

to dark with each dye dip, you dye a color and then add the wax, dye again
and draw another aspect of your design. What is happening is that you are covering
up the color that you have just dyed, with the wax, which will prevent it from
absorbing any future colors, so it stays the color that was covered. When all is
completed, the wax will be removed, showing the entire design.


Some dedicated time to planning on your color scheme is very important.

Here she is using a small dremel drill. Just remember, no matter the method
you use to make the hole, be very careful not to crack the egg. You may want
to put a small piece of masking tape over the end, to help keep it from cracking.

the wax. There is a special tool that is being used here to blow air into the
egg, forcing the insides out. This is probably the messiest part of the process.

and heat the egg for just a short time, start with 15 seconds and add time
if necessary. You are just heating the wax up enough to be able to wipe it off
with the paper towel. Be careful not to overheat the egg.
(Alternatively, if you do not have or want to use a microwave, you can hold
the egg next to the flame of the candle(to the side of the flame and not over
top of the flame), but take great care if doing it this way.
Just do little bits at a time, heat a little, wipe a little and so on).


Whatever you use, do a test area first to make sure it doesn't cause the dye to run.

caps(called findings) for the end so that they can be hung as ornaments.
Take your time, let your imagination run wild, and you will create one of a kind
works of art that you can keep or give as unique gifts!
As always, thanks to all who joined me in this crafty adventure, especially
Laura, who generously shared her time and knowledge with us!!
-Kimberly :)